#onetheme for 2021: Well-Being

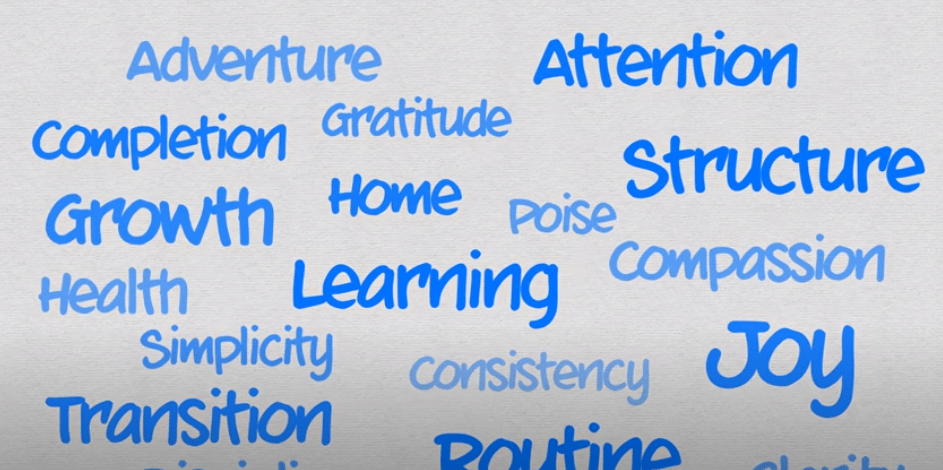
When discussing New Year’s resolutions with my family this year, my son suggested creating a theme and shared a video with me that had me change my yearly #oneword practise to #onetheme. Given that 2020 has been one of the most challenging and usual years I’ve experienced, I thought I would change course this year and focus on a theme for 2021.  When choosing a theme, the video instructs you to chose a theme that is  “broad, directional and most important resonant” and offers suggestions (see image below).

from: https://www.youtube.com/watch?v=NVGuFdX5guE&t=1s

The word that most resonates with me moving forward this year is well-being.  I spent some time thinking about what well-being meant for me as well as thinking about what would help me most effectively navigate this new year bringing joy, peace and happiness. I created a graphic organizer using Canva (see image below); however, if you are creating your own image or having students create one you could use any program from Jamboard to Google Drawings.  The focus on the #onetheme is to focus on growth and adaption based on how the year progresses.

In the New Year, I hope to model this with students as I will be working with them to create Goals in myBlueprint. We will begin by watching the video and spending some time thinking about  possible themes. From there, we will create images to go along with the themes, which can then be added as a portfolio item into myBlueprint. Finally, students can create goals in the platform based on the images.

Makey Makey Interactive Advent Wreath Activity

I have been working with intermediate students in some of my schools to create interactive Makey Makey Advent wreaths. I had a few people reach out and ask me how I completed the project so I created this blog post with instructions.

Step 1: Colour or Create an Advent Wreath

I usually begin with a discussion about what Advent means and show a video as a minds-on. Then students colour or draw their own Advent wreaths. You can also create three-dimensional wreaths. For the flames students cut and out and glue some aluminum foil.

Step 2: Plan out your Project

After the colouring is complete I have students plan out what they would like each of the Advent Candles to say. I provide a graphic organizer which I modify for exceptional learners as needed. I encourage the students to include biblical verses or Psalms and/or make a personal connection where possible.

Step 3: Create Scratch Accounts and Code 

The next step is to have students create Scratch accounts. I have done this in two ways: either in Google CS First or through my Scratch Teacher Account which allows me to set up classrooms in Scratch.  Next, I demonstrate to students how to download the extension in Scratch for Makey Makey.  This video explains the steps of how to add the Makey Makey extension in Scratch and the code you will need.


Here is a picture of the button you press to find the Makey Makey Extension.


Picture of what the extension looks like.


Step 4: Record Your Voice 

The next step is to have students record their voices. This is best done in a quiet environment and sometimes students ask to complete this task at home. The easiest ways I have found to record in Scratch is for students is to press the record button on their code. Students will then have to allow access to microphone before recording. This video explains this step.


Step 5: Connect Makey Makey 

The last step is to connect the Makey Makey to the Advent Wreath. I start out by explaining how the Makey Makey works with this introduction video. Then I demonstrate how to connect the Makey Makey to their Chromebook and connect the alligator clips.  This video demonstrates how to do this. Students will connect one alligator clip to the Makey Makey and the other end to the candle. They will repeat this process for each candle. This generally takes some problem solving and a couple of attempts, but I try to ask questions and have students problem solve. The main problem is that usually students forget to connect one alligator clip and hold the other end of the clip to complete the circuit. Here is an example from a class I recently worked with.